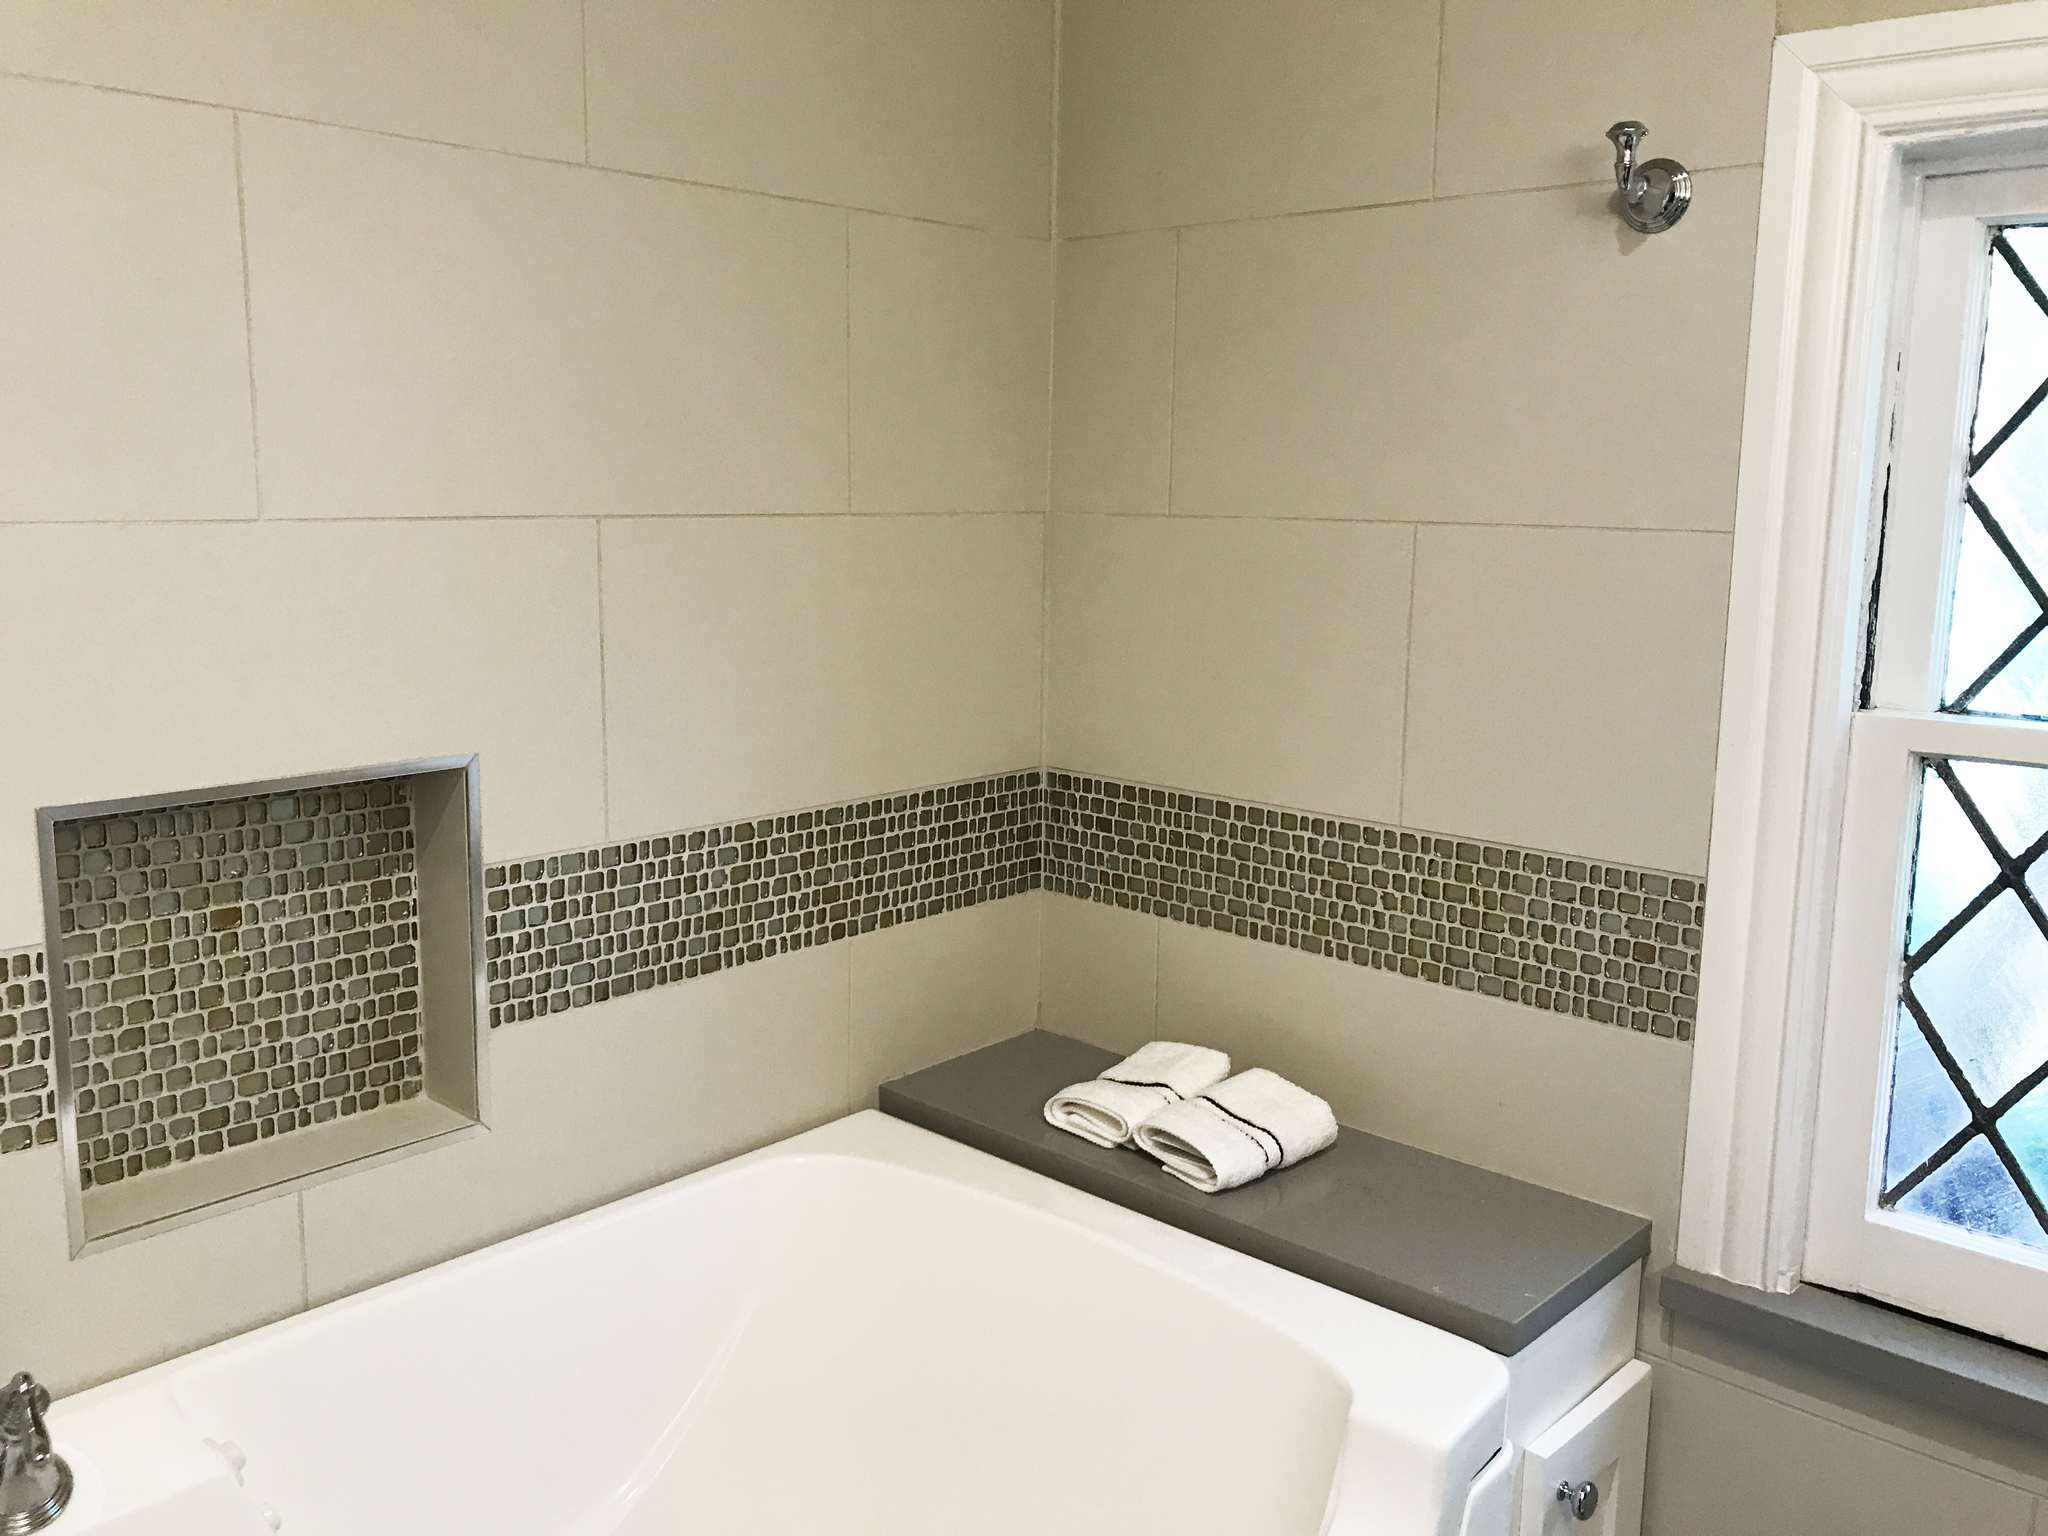
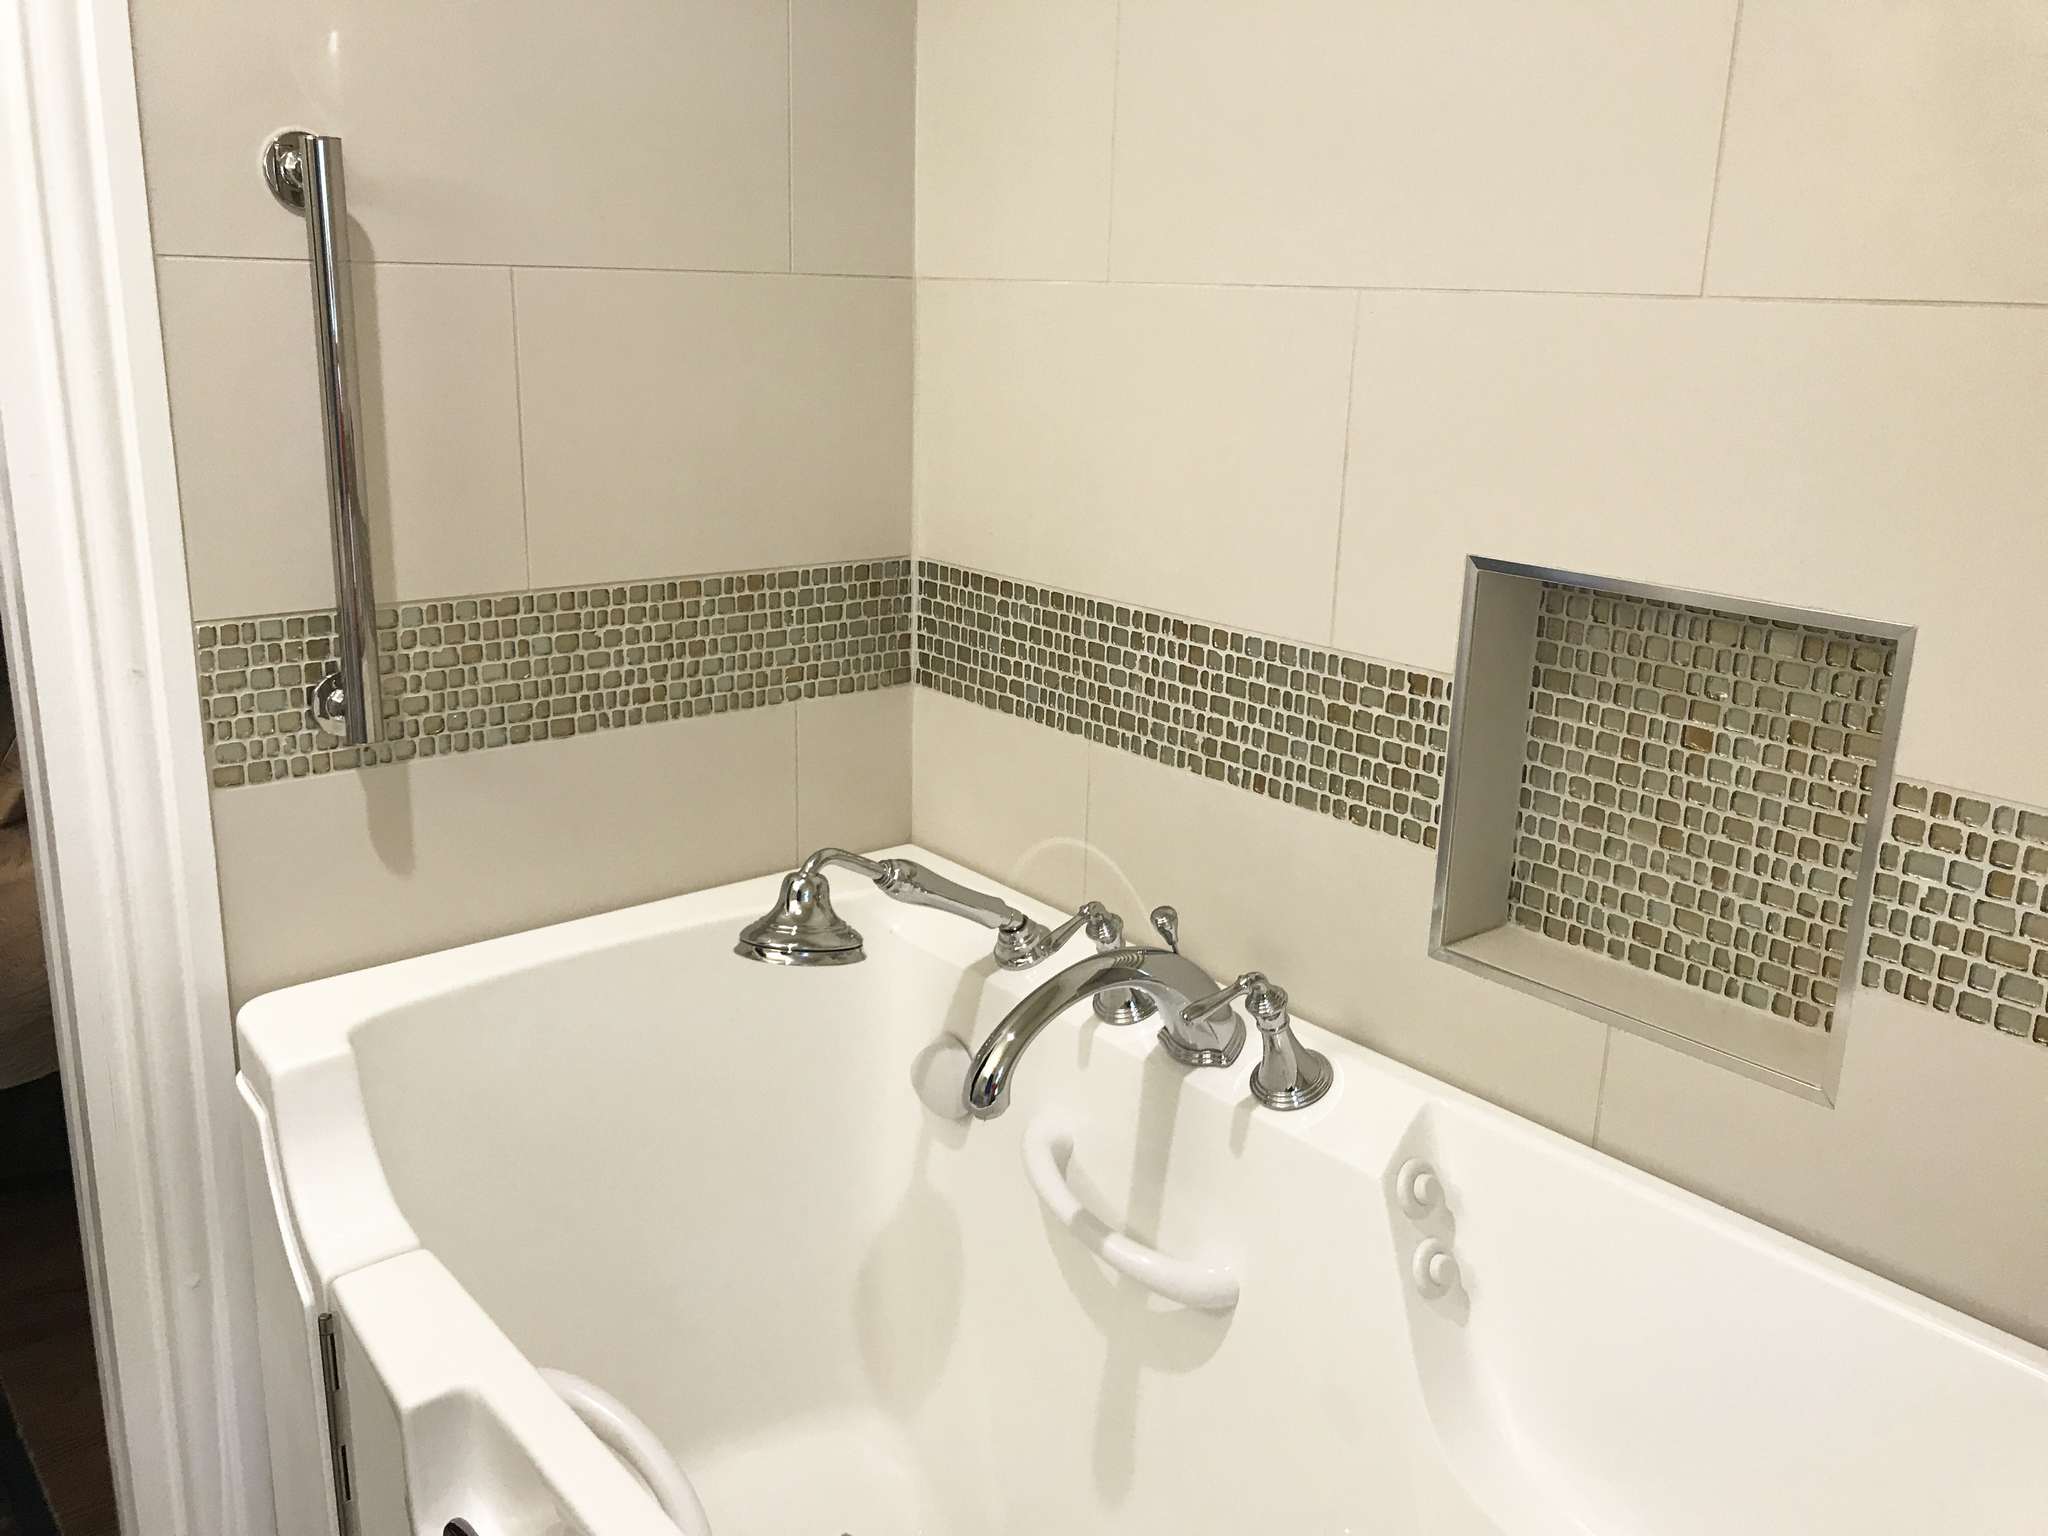
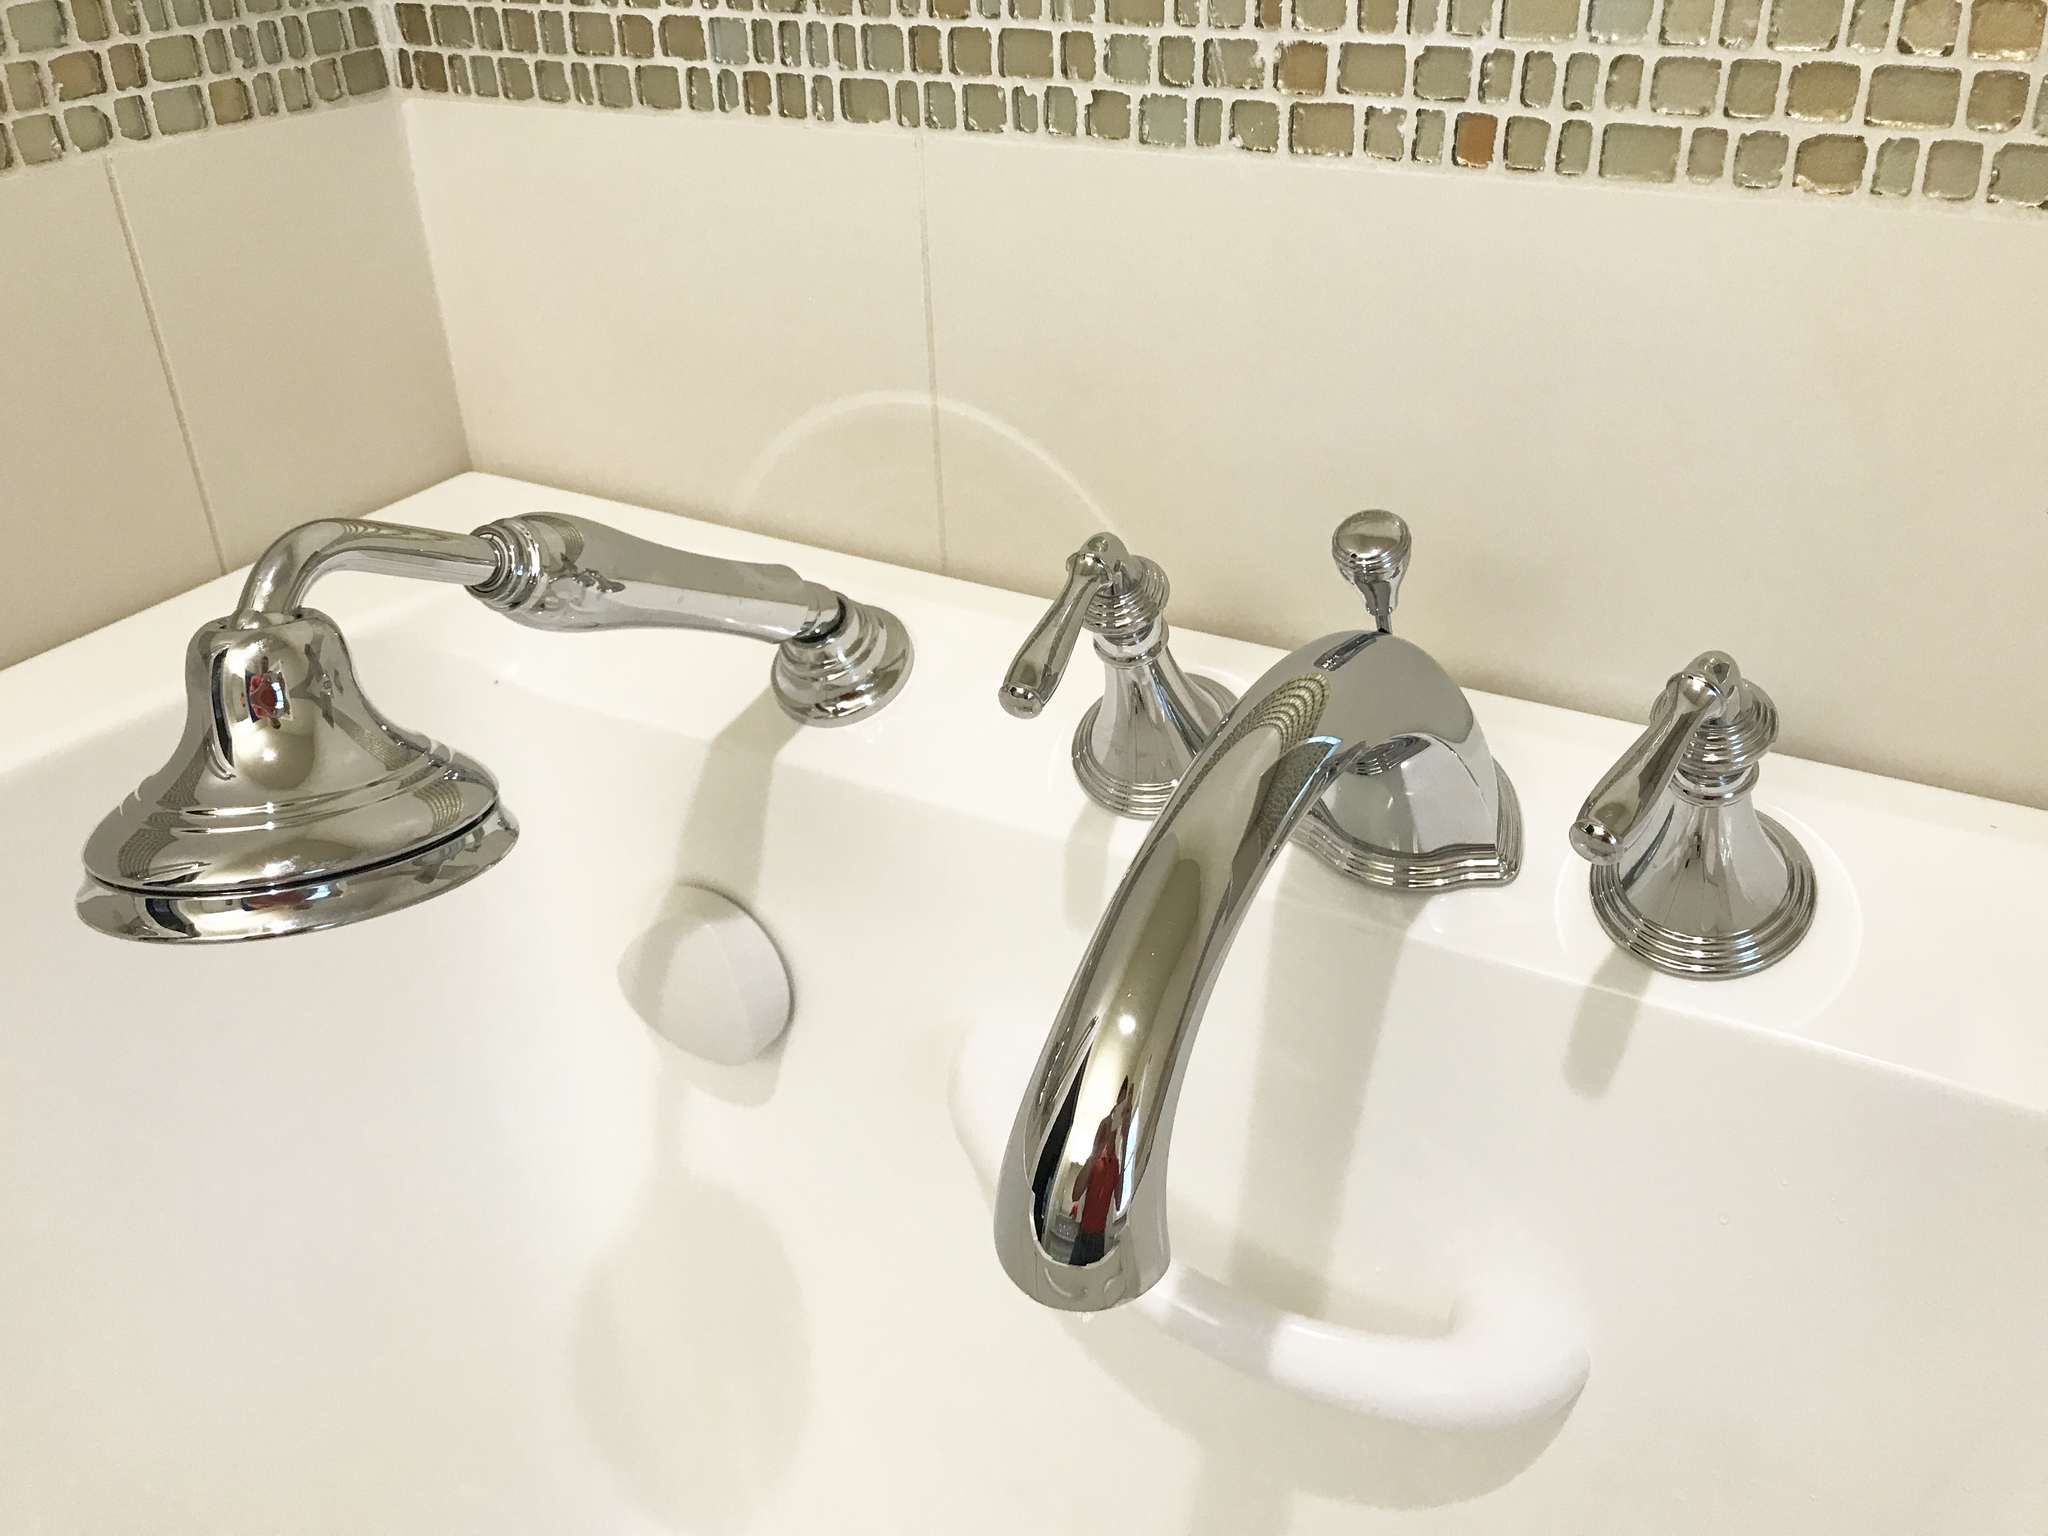
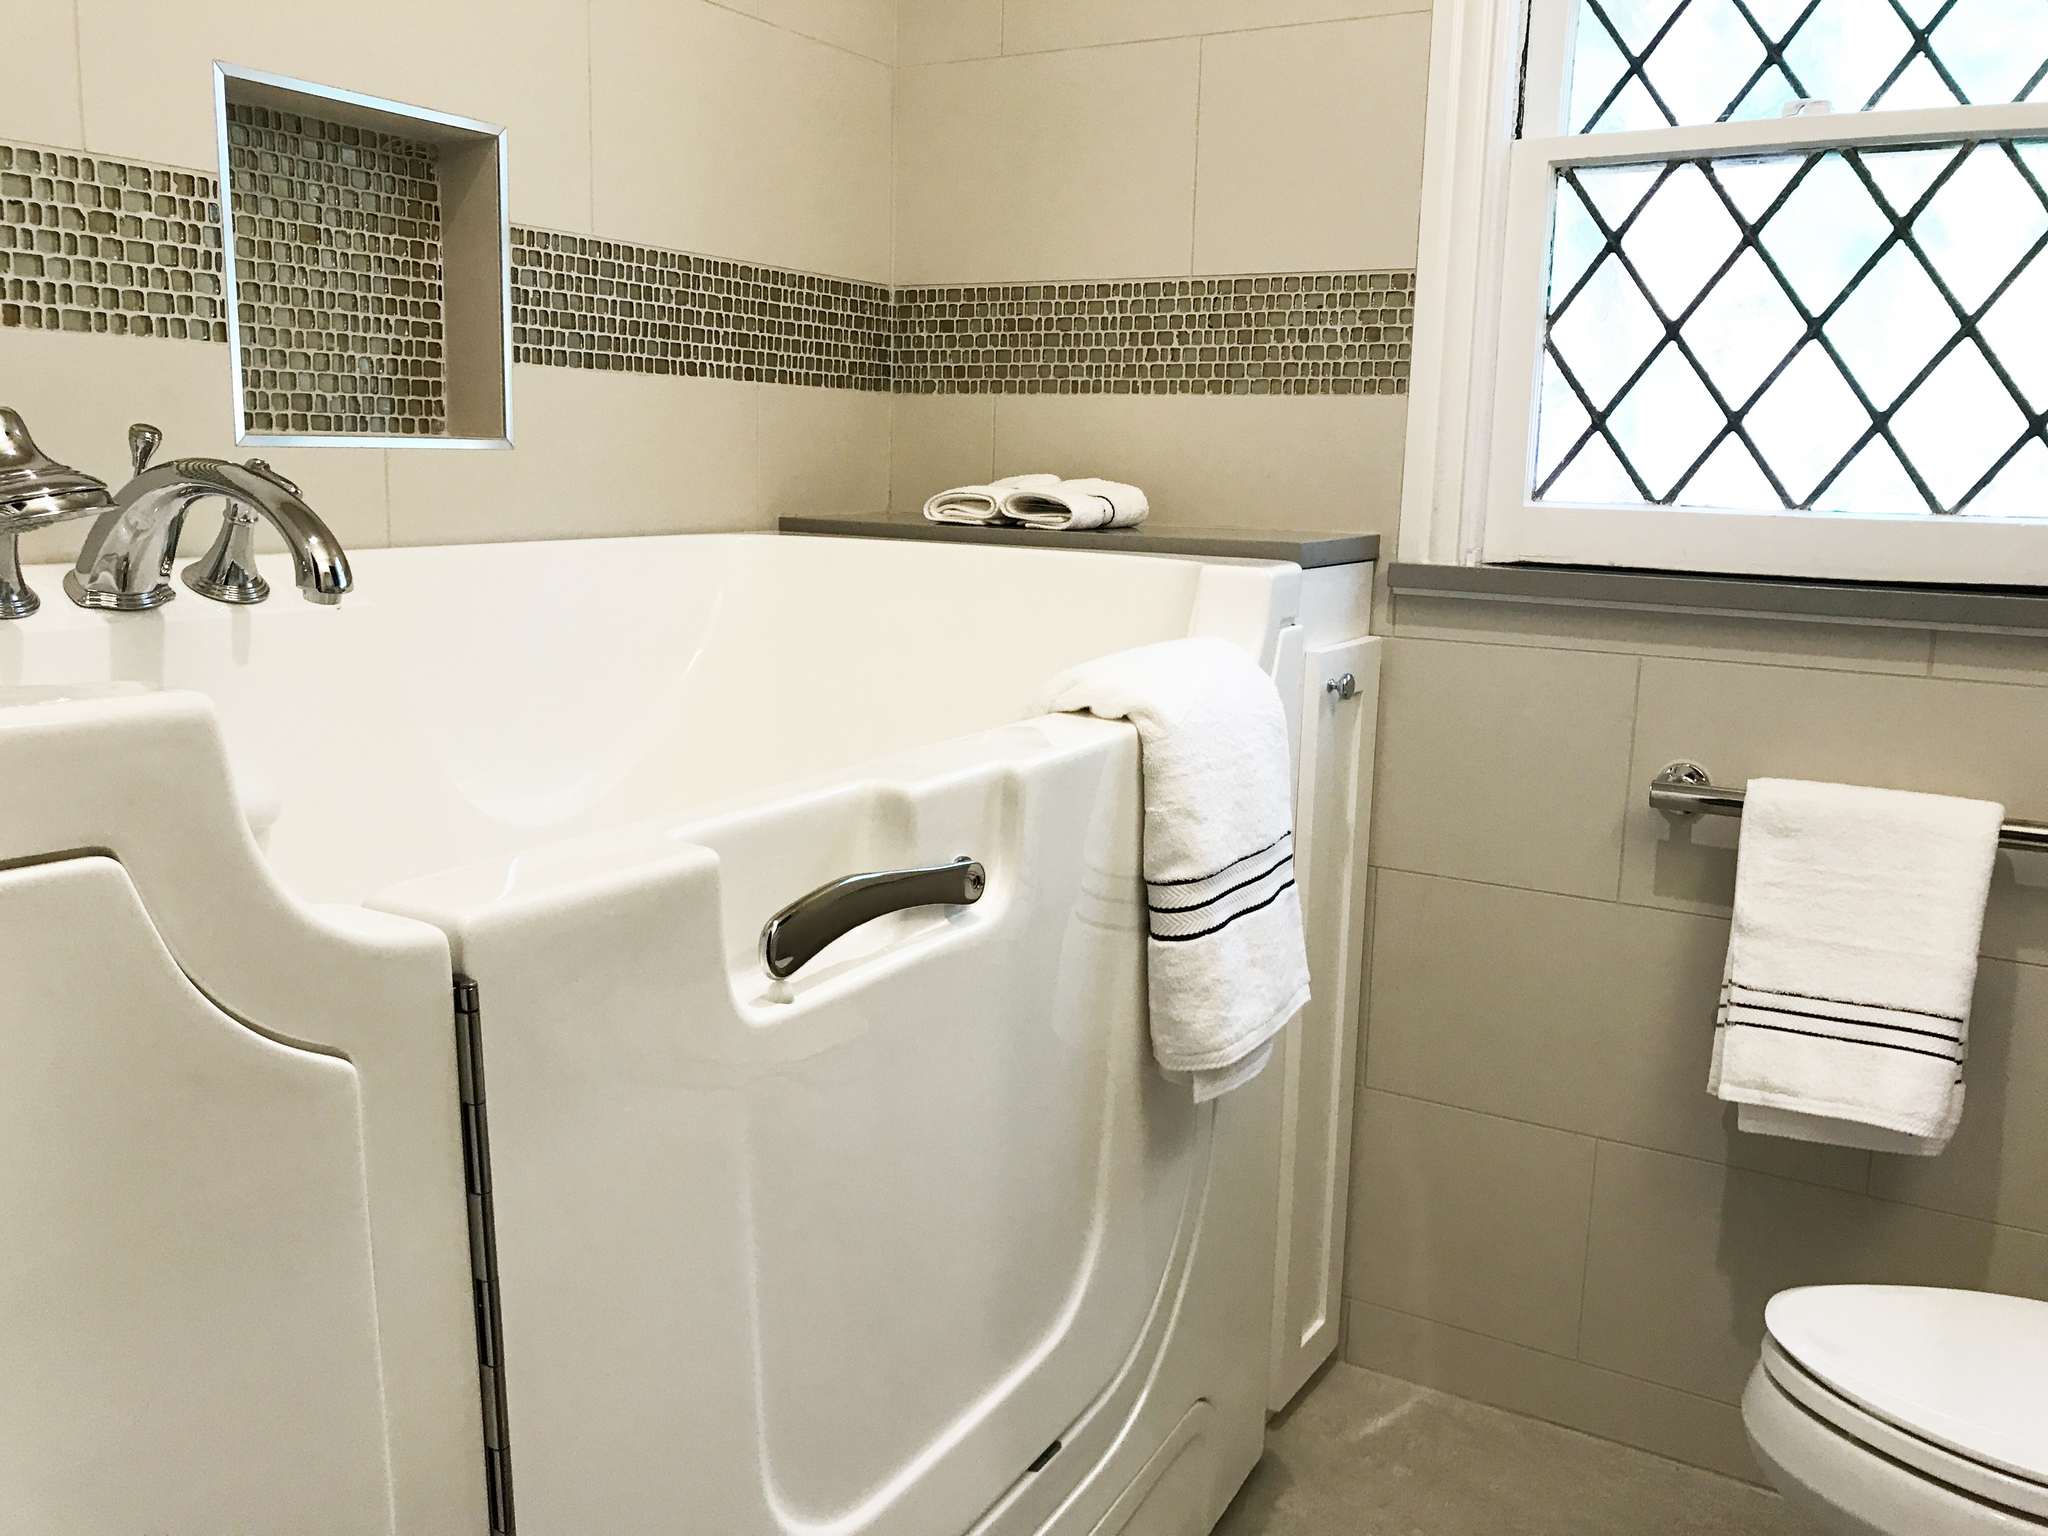
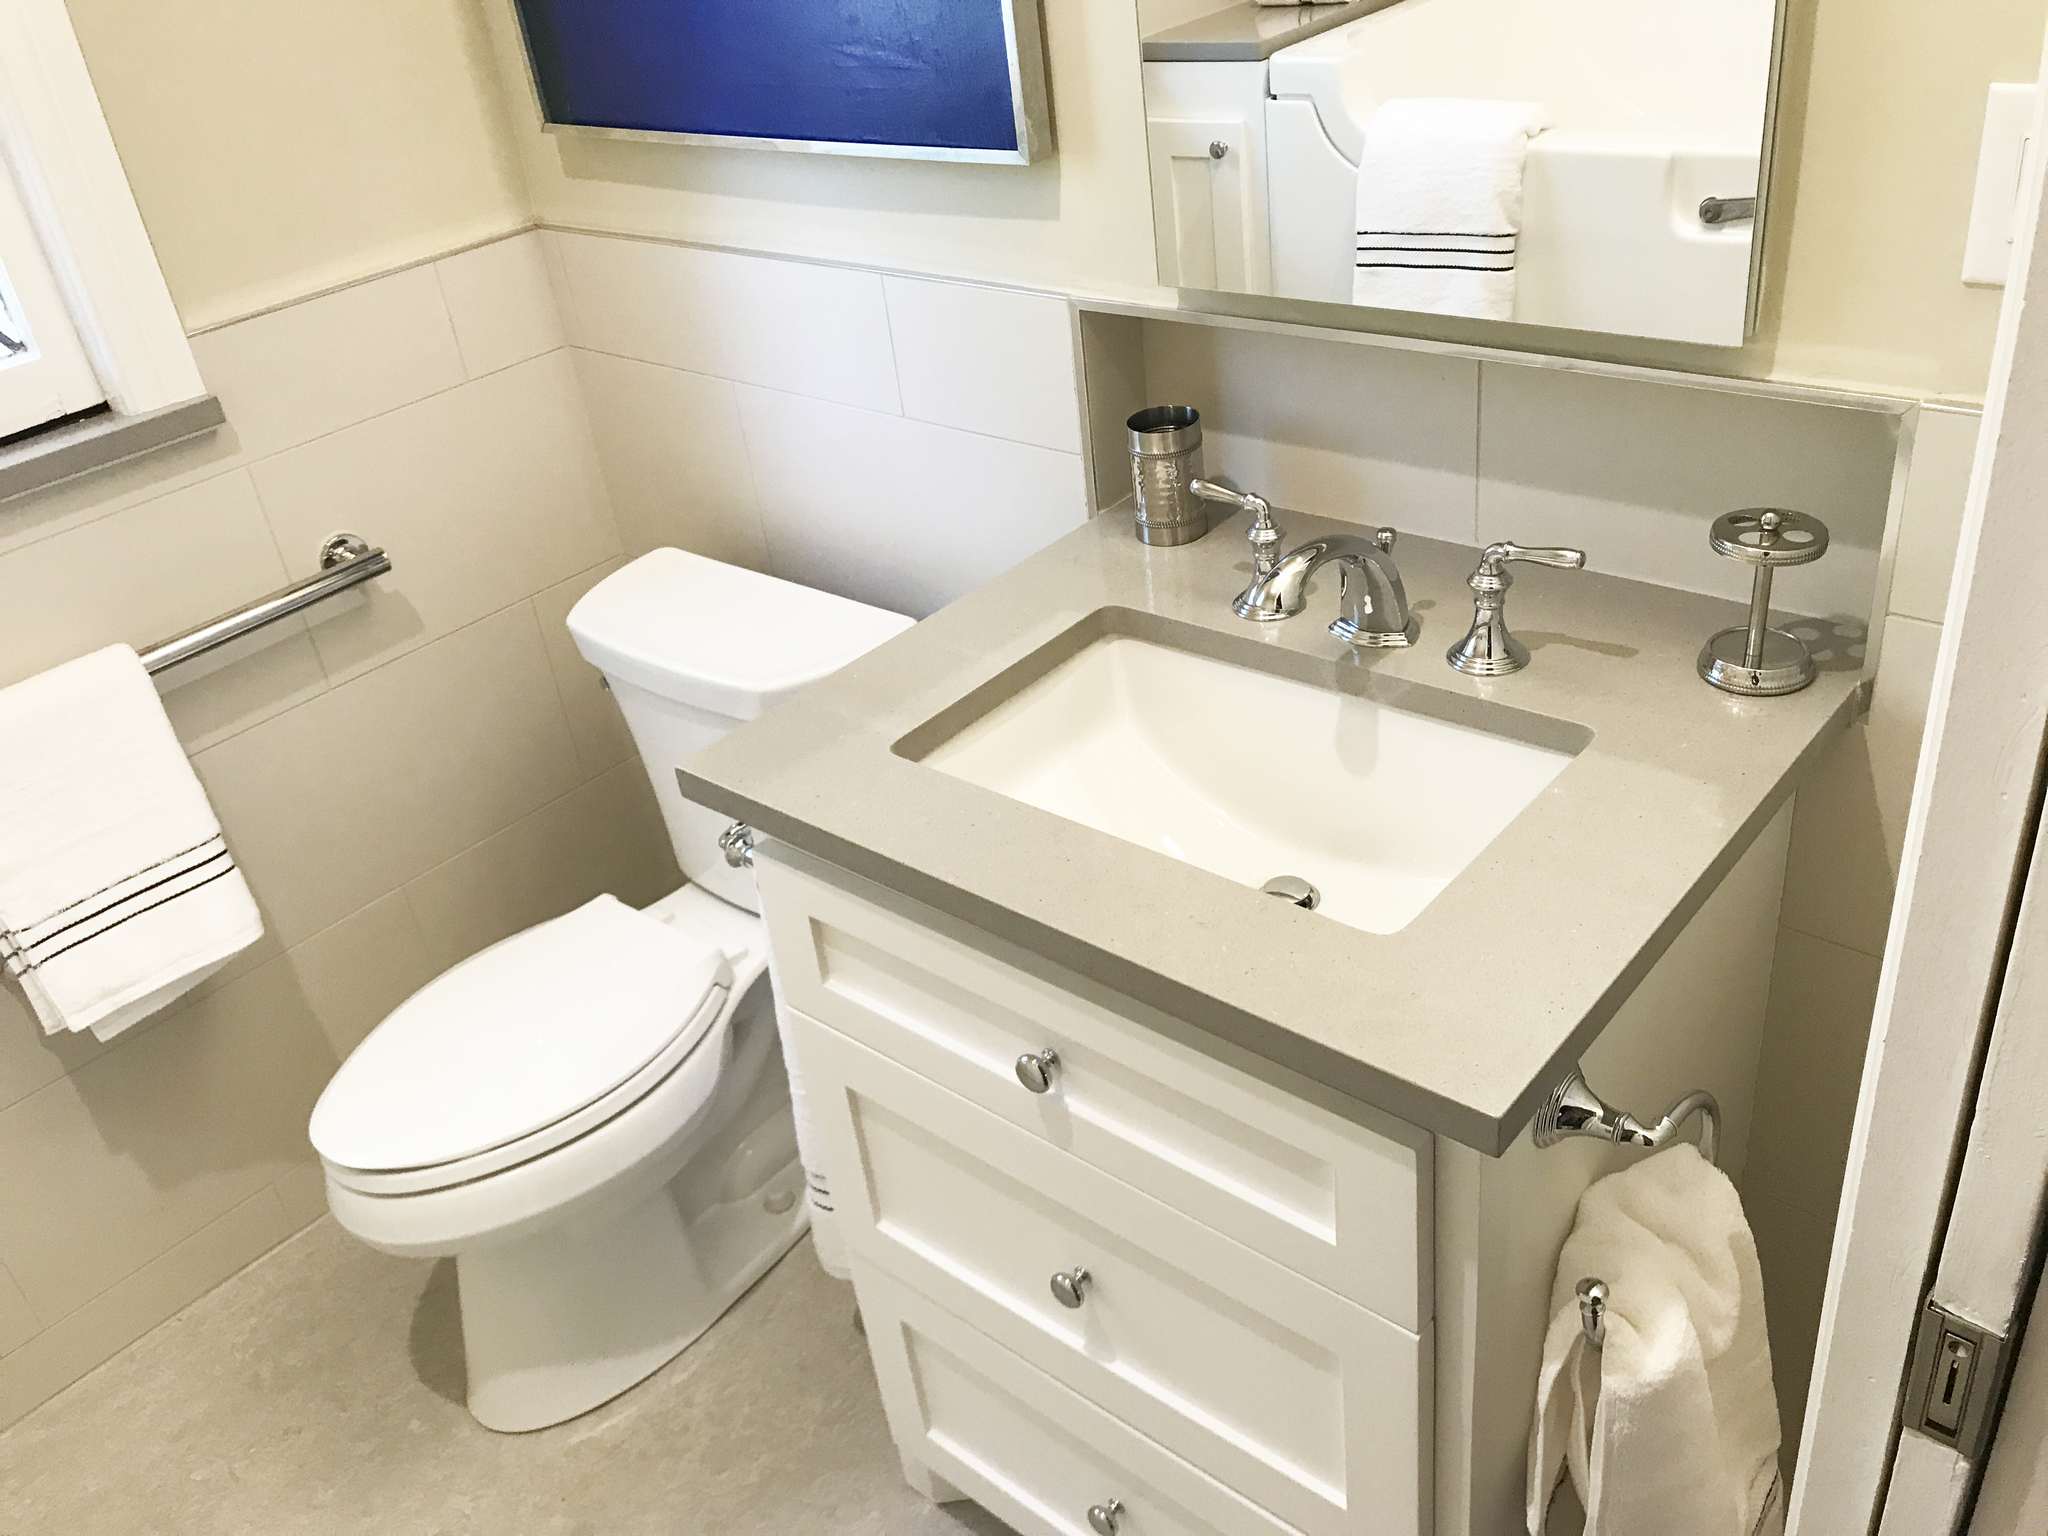
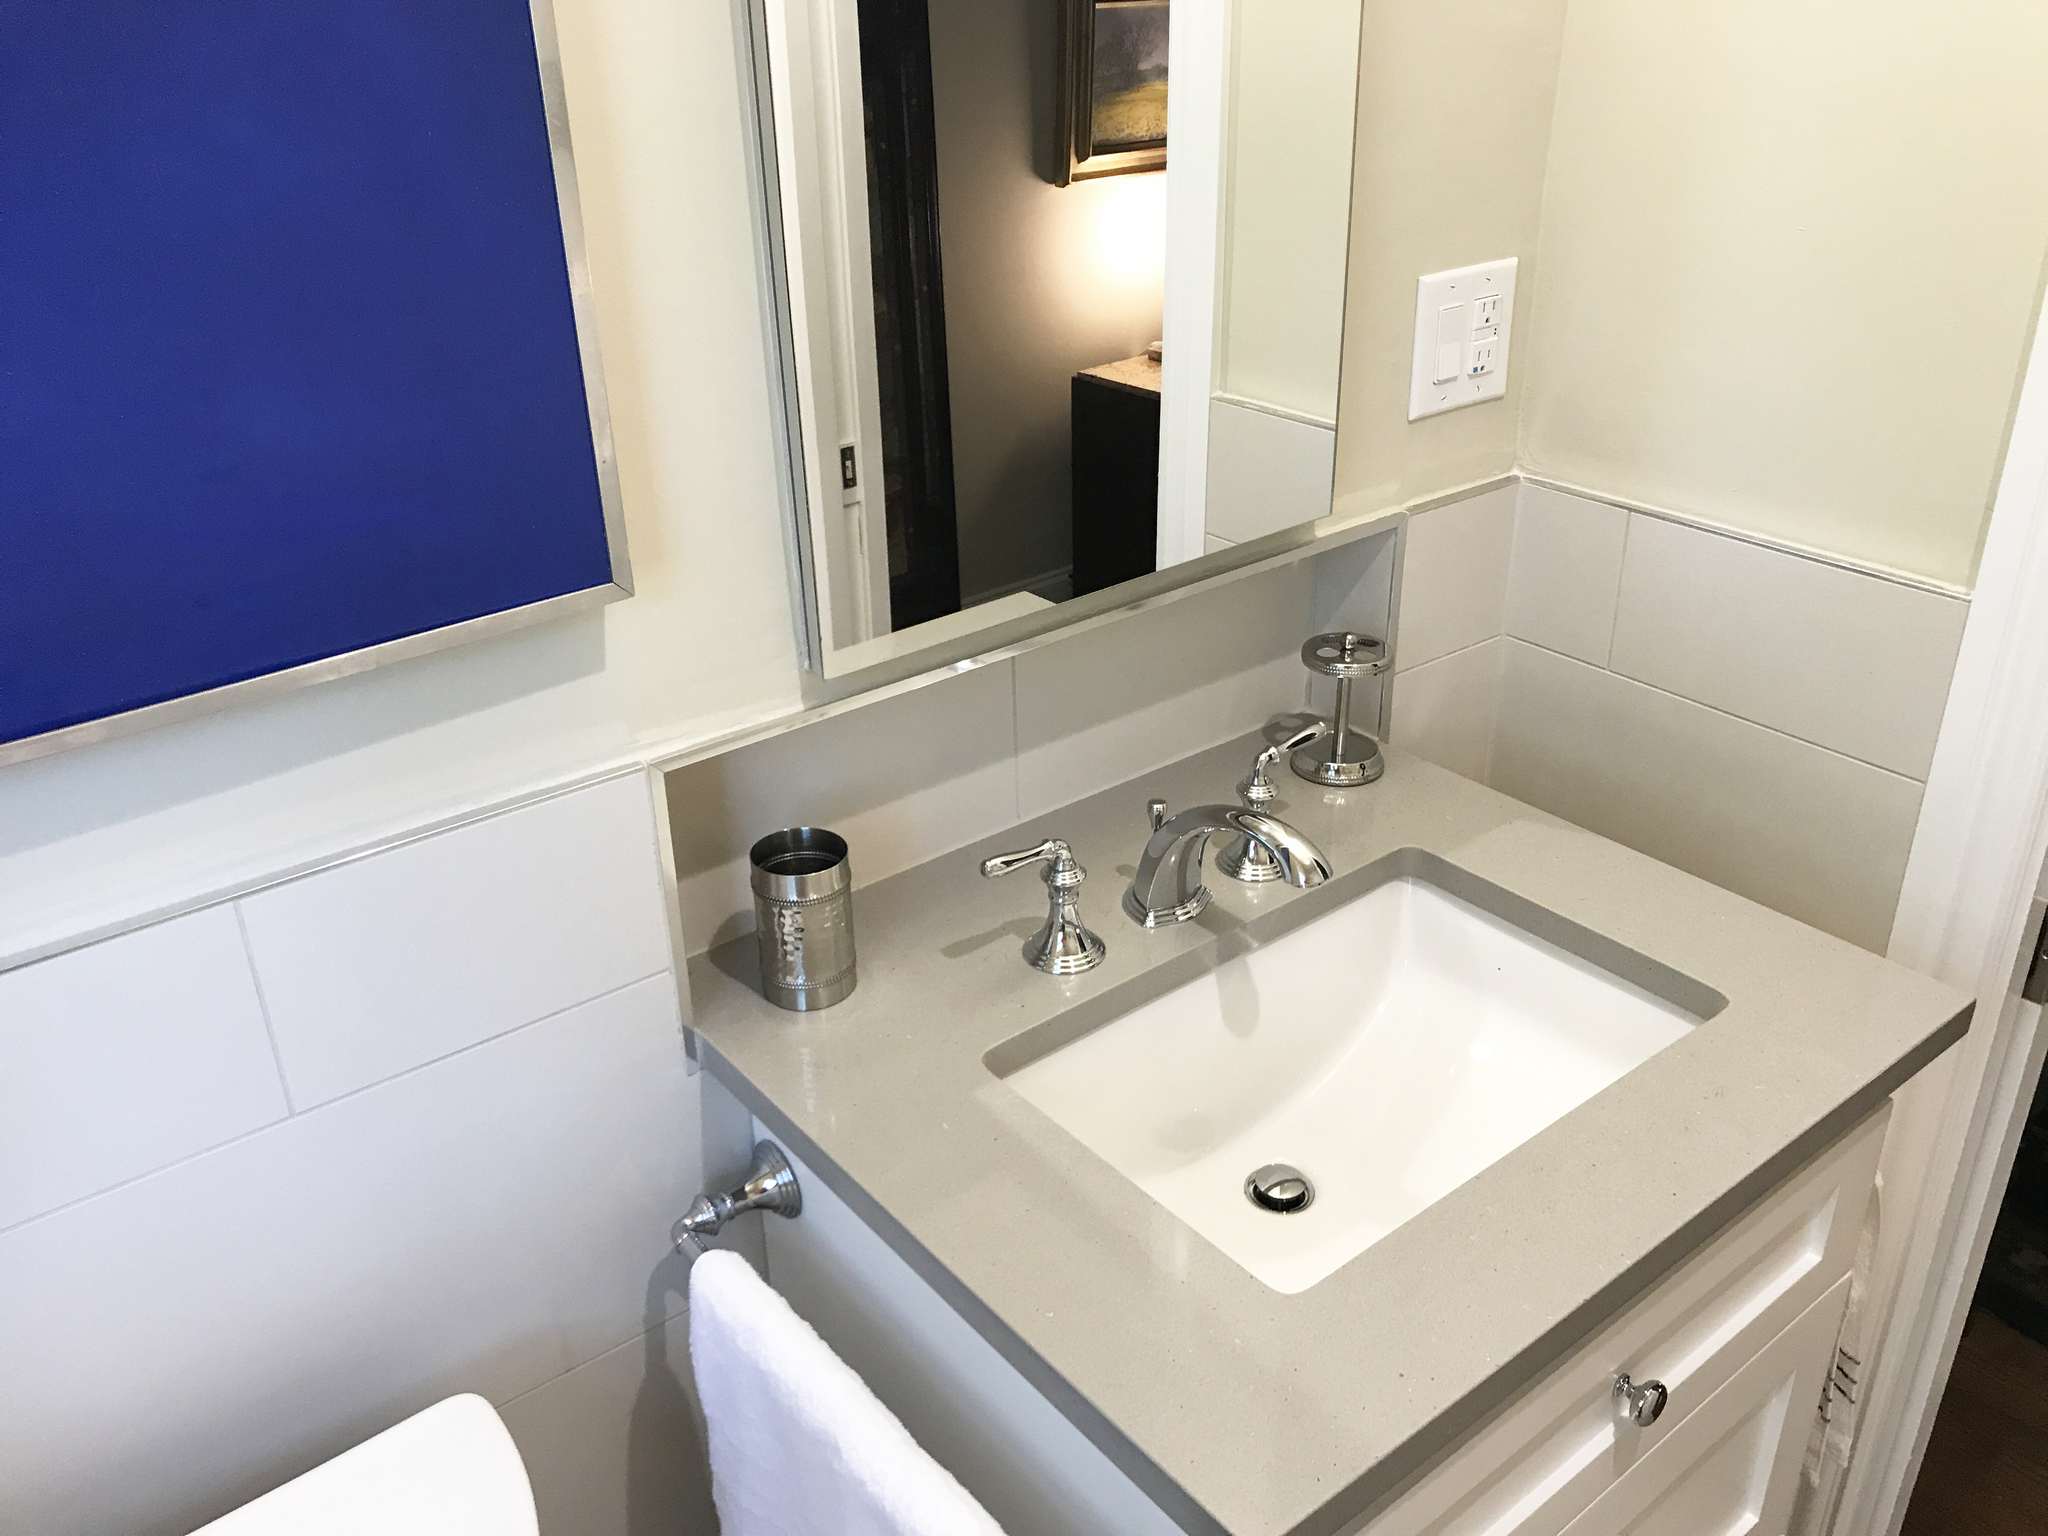
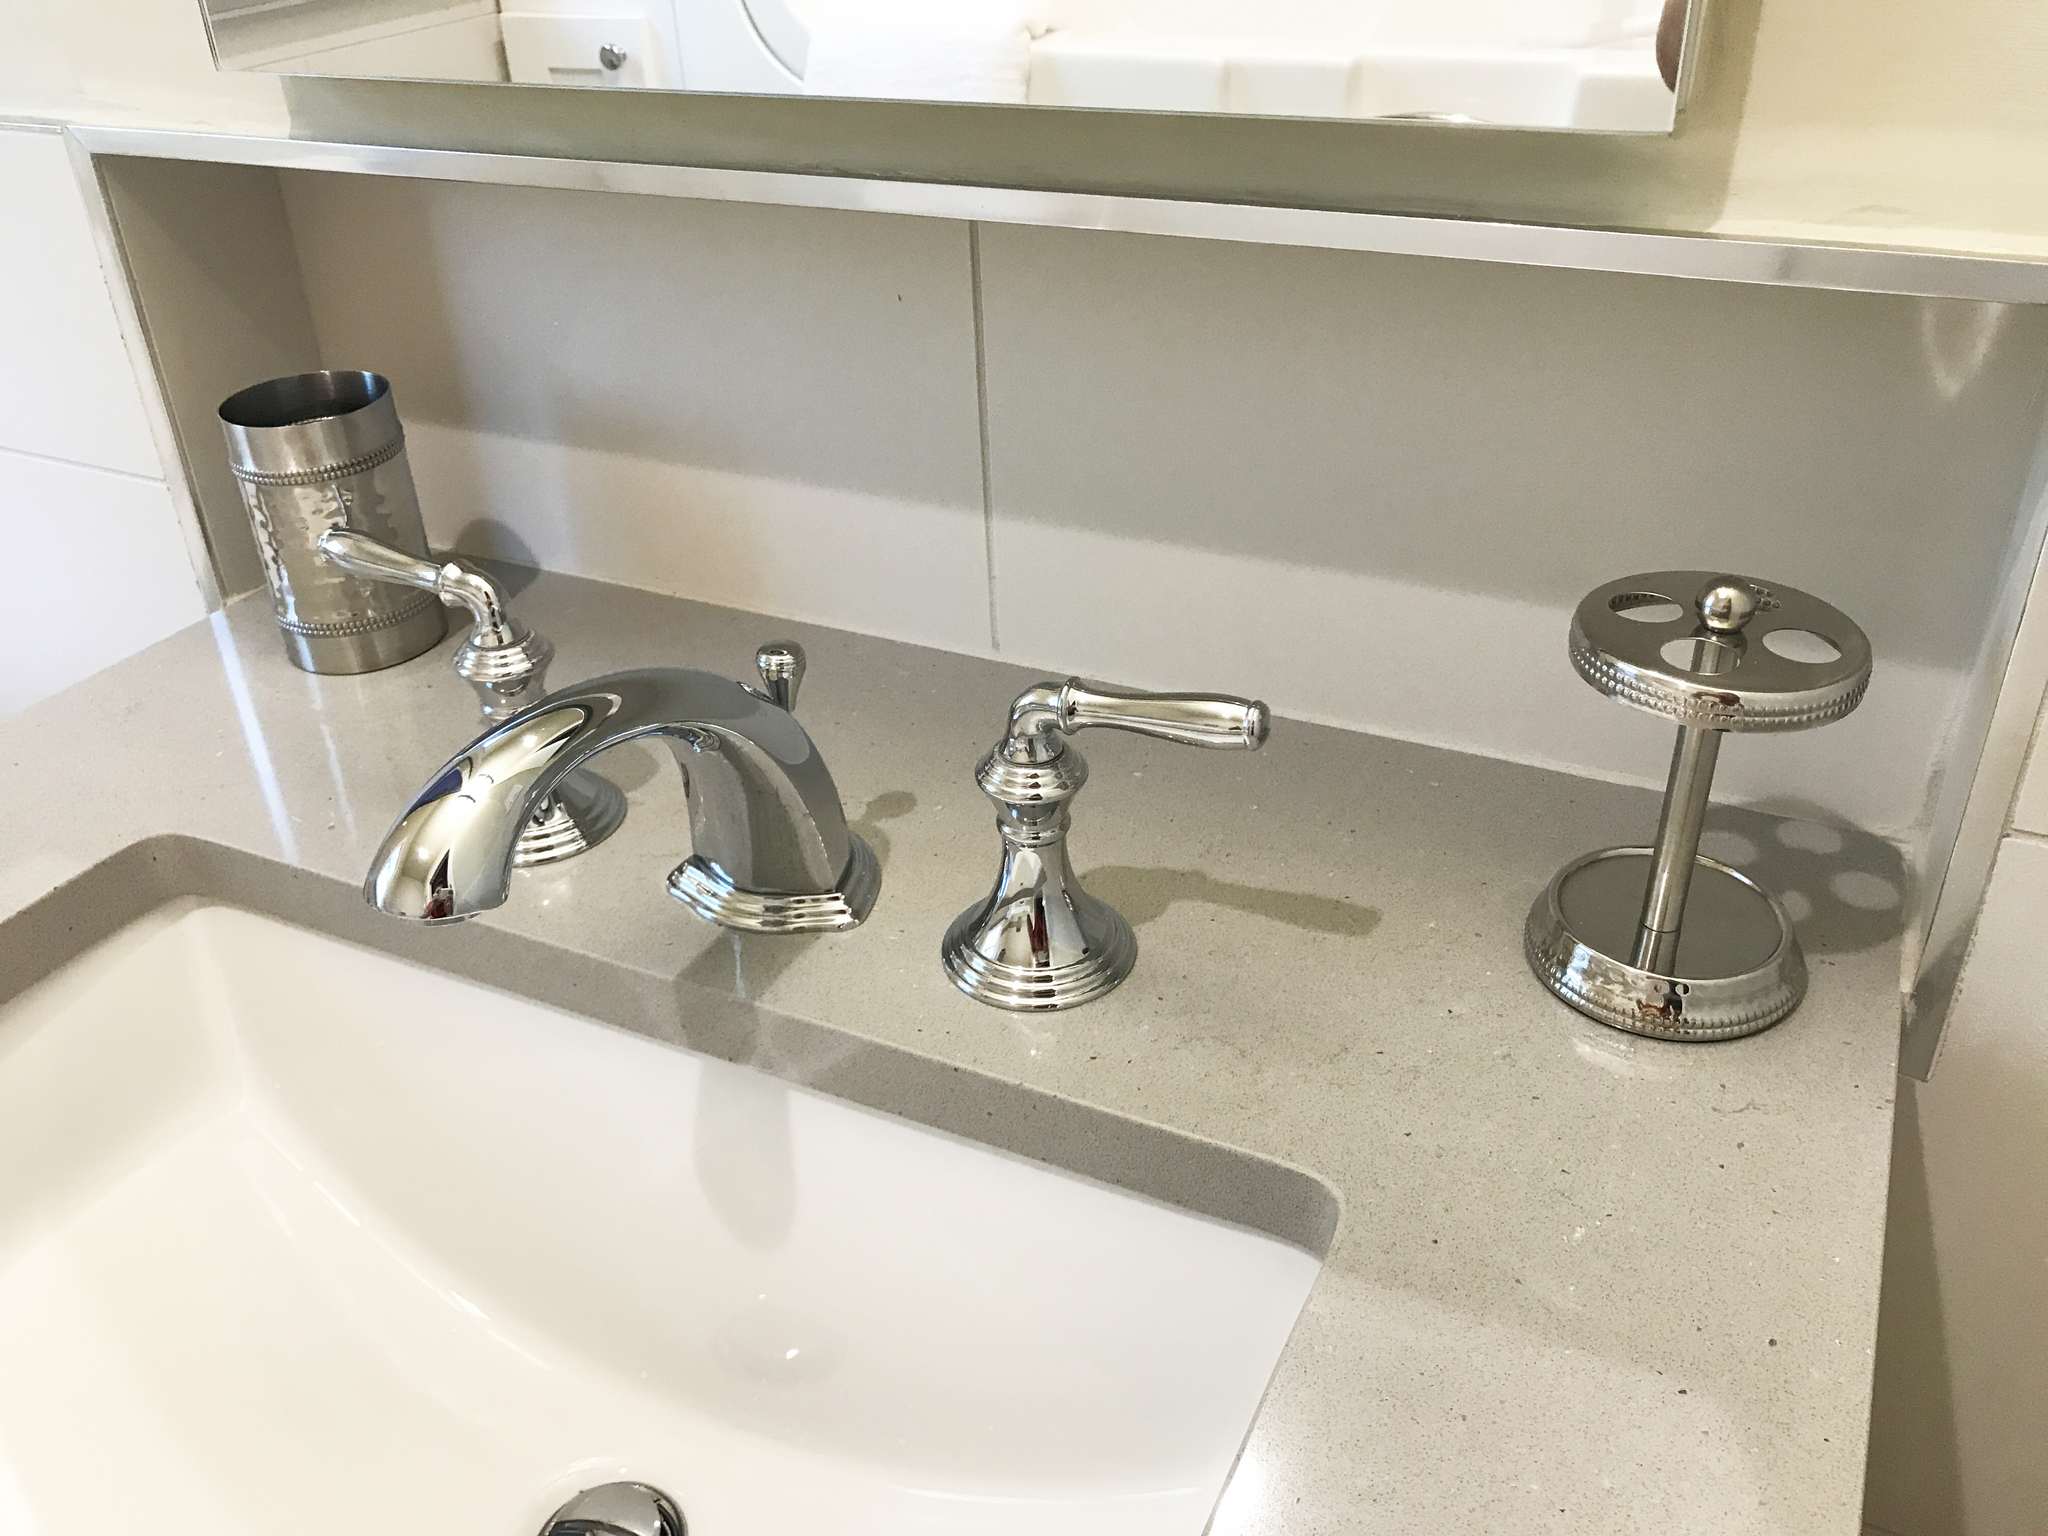
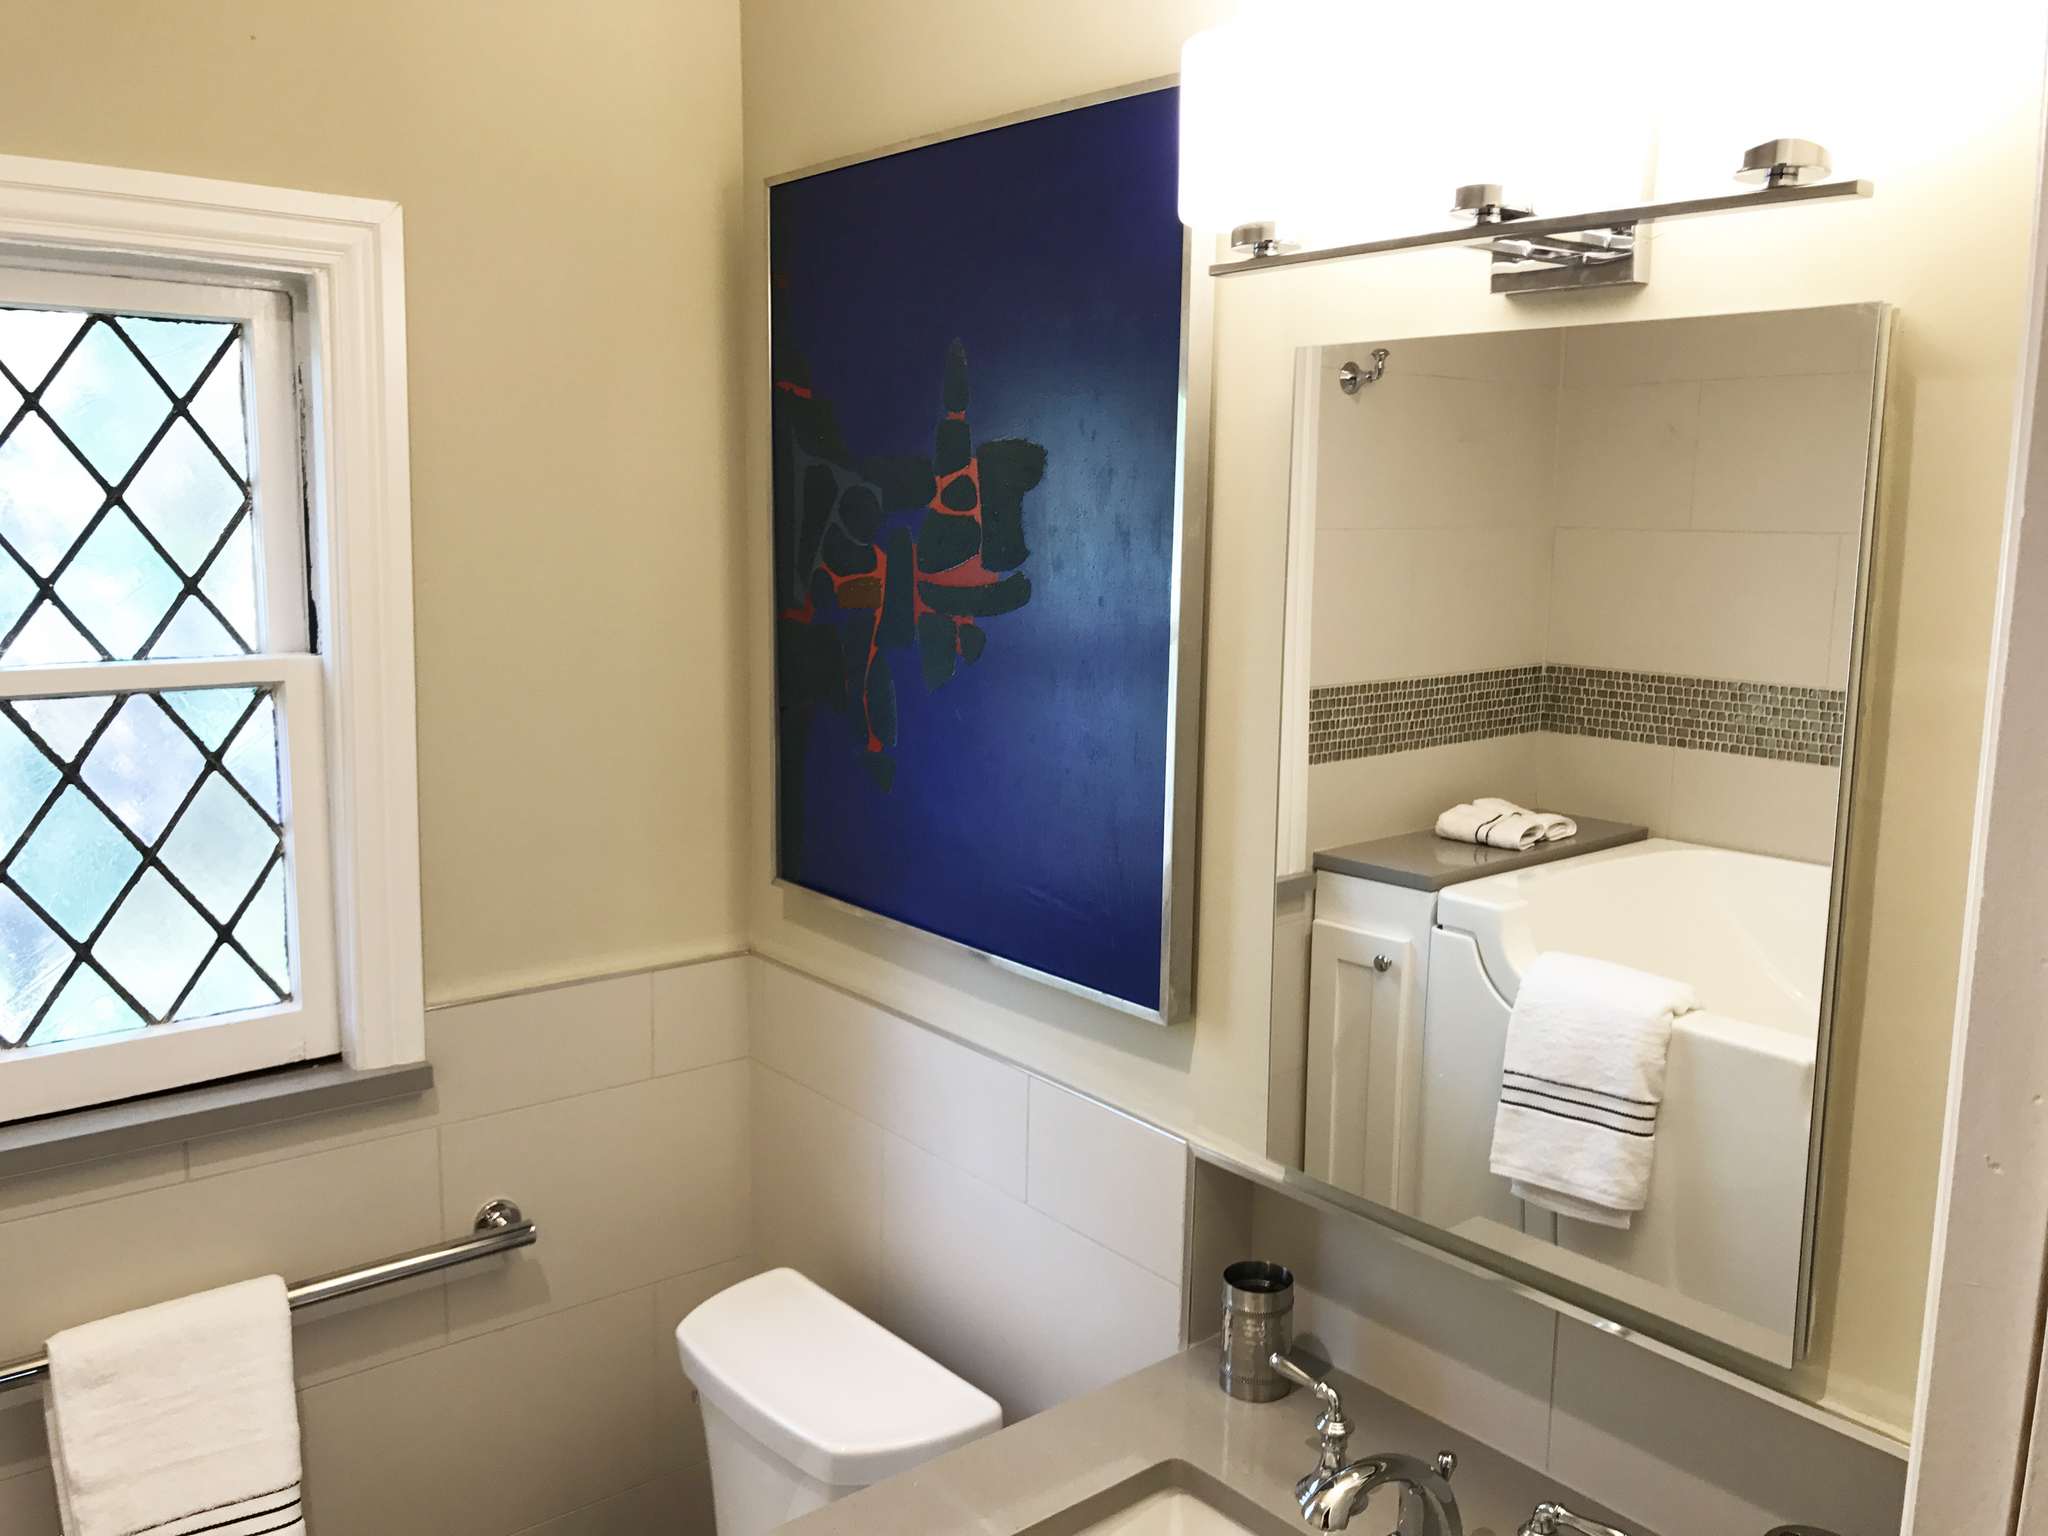
Renowned Renovation recently remodeled a single family home on Beverly Drive in the Highland Park area in Dallas, TX that was built in 1932. The owner want to update the master bathroom with a standard tub shower into one with a modern senior-friendly bath with a walk-in-tub.

ADA Complainant Bathroom Remodel Highland Park, Texas Gallery


<h2>Resources For Aging Friendly Remodeling</h2><p>This article was posted in the <a draggable=”false” href=”http://www.aarp.org/livable-communities/housing/info-2016/aging-friendly-renovation-improvements.html”>AARP LIVABLE COMMUNITIES</a> section on the AARP’s website. They are a nonpartisan organization that helps people 50 and older improve the quality of their lives. The author, Vince Butler is a professional remodeler and writes about <a draggable=”false” href=”http://www.aarp.org/livable-communities/housing/info-2016/aging-friendly-renovation-improvements.html”>21 things</a> he wishes he’d followed based on his own advice to clients wanting to make their homes aging-friendly. <a href=”http://www.aarp.org/livable-communities/housing/info-2016/aging-friendly-renovation-improvements.html”>Click here</a> for the complete article or see the highlights below.</p><p><strong>1. Raise the Outlets. Lower the Switches</strong> <br />There is no height requirement for electrical outlets or switches in most homes in the U.S. In fact, outlets are typically placed at a height equal to the length of a hammer simply because it saves measuring time during construction. Ask to have your outlets raised to 18″ above the floor so they’re easier to reach while standing or from a seated position. Light switch boxes are generally set above 48″. If you move the box below 48″ it makes the switch easier to reach from a wheelchair, scooter or by a child.</p><p><strong>2. Use Aging-Friendly Light Switches <br /></strong>Paddle-style switches are better than a traditional toggle switch since they can be easily operated with a finger, knuckle or even an elbow.</p><p><strong>3. Over Light and Dim it Down <br /></strong>It’s always better to install more lighting than you think you’ll need and include dimmers for control. Coming back later to correct a dark corner or work area is expensive and messy. LED lights provide excellent illumination without overtaxing the wiring circuits and are easily dimmable.</p><p><strong>4. Use Wide Doorframes <br /></strong>Use doors that are ideally 36″ wide. (The minimum width used should be at least 32″.) You don’t have to install the wider doors now, but if you frame for that possibility you’ll preserve the space and locate switches, pipes with a stainless steel flange and other obstructions clear of any future widening.</p><p><strong>5. Select Aging-Friendly Hardware <br /></strong>When choosing door knobs, cabinet hardware and plumbing fixtures, select designs that can be comfortably used without excessive pinching, twisting or force. Consider whether a child or a person without full use of his hands or arms could successfully use the item.</p><p><strong>6. Double-Up On Handrails <br /></strong>Staircases should have a handrail on each side to provide additional support or to assist someone who has a strength imbalance due to age, injury or illness. Double handrails make staircases safer and easier to use.</p><p><strong>7. Wider is Better Than Narrow <br /></strong>Most residential staircases are 36″ wide, but if a project includes a new staircase, 42″ would be better. That width makes it easier for two people to use the stairs side-by-side and better accommodates a lift chair, if required. Also, a wider staircase is especially useful when moving furniture!</p><p><strong>8. Deep is Better Than Shallow <br /></strong>If space allows, make the treads (the flat part of the step) a bit deeper and the risers a bit shorter. Even a small change can make the stairs safer and easier to use.</p><p><strong>9. Put Power Nearby <br /></strong>Include an electrical outlet at the top and/or bottom of the stairs. That way, if you ever install a lift chair it can be plugged in and charged without having to use an unsightly and possibly hazardous extension cord. In the meantime, having an electrical outlet near the stairs is very handy when vacuuming.</p><p><strong>10. Shine a Light on It <br /></strong>Building codes require that staircases have switches at the top and bottom. However, we don’t always use those lights when our hands are full or we don’t want to disturb sleepers in the bedrooms nearby. Motion-activated switches that turn lights on and off automatically are a helpful option.</p><p><strong>11. Block the Bars in the Bathroom <br /></strong>When a grab bar isn’t securely mounted, it’s more likely to become loose and fall off the wall. The best way to prevent this is before the walls are finished by installing horizontal wood “blocking” at the proper height for grab bars in the tub, shower and toilet areas. Installing such blocking is inexpensive and easy to do if you are equipped with the best compound miter saw during construction but can be very costly and disruptive later. Tip: Before the drywall is installed, run a measuring tape from the floor up to the framing and take a picture to document exactly where the blocking has been placed. There are ways to install grab bars without blocking but nothing is more solid and secure than fastening directly to the wood framing.</p><p><strong>12. Open and Close the Door <br /></strong>Doors are the number one obstacle to having a usable bathroom when someone requires assistance or is using a mobility aid. Sometimes an out-swing door works better for a bathroom than an in-swinging one. In other scenarios, a pocket door may be the better solution.</p><p><strong>13. Cut-out the Curb <br /></strong>A shower is generally more usable and safer than a bathtub. Eliminate the typical step-over shower curb for a zero-step solution. If desired, the space can accommodate a frameless glass shower enclosure or, if needed, be converted into a fully-accessible shower for either a seated transfer or roll-in use.</p><p><strong>14. Grab the Grab Bars Now</strong> <br />If the walls are blocked already, install the grab bars. People of all ages can benefit from having something to grab onto near the shower or tub. (I found the grab bars in my bathroom to be quite helpful while I was recovering from shoulder surgery.)</p><p><strong>15. Kitchen Counters – Low, Medium and High</strong> <br />Various height kitchen countertops provide options for use by a child, a tall person and someone who prefers to sit rather than stand while preparing a meal.</p><p><strong>1</strong><strong>6. Put it Away <br /></strong>Provide storage options in locations that don’t require lifting, and include pull-out drawers and trays and other accessories to increase usability. <strong>1</strong></p><p><strong>7. Pick Aging-Friendly Appliances <br /></strong>Consider the design of stoves, dishwashers and refrigerators to minimize or eliminate hazards such as reaching over a hot burner to adjust the controls. Evaluate the design for usability by people with varying abilities and locate the appliances to minimize lifting or bending. For instance, placing a microwave oven above the range is an example of not planning for the future.</p><p><strong>18. Two Sinks are Better Than One <br /></strong>Consider installing a second sink with a pullout spray faucet near the cooking area. Doing so is handy for filling a pot with water for boiling — and then emptying that pot without having to carry it across the kitchen.</p><p><strong>19. Easy In, Easy Out <br /></strong>There should be at least one way to get into the home without having to use steps. Installing a zero-step entry into the house (and into a shower, as noted above and shown at right) solves two of the most challenging obstacles to creating an age-friendly home. If plans include adding a garage or new living space, consider options that will create an entry that can be used by someone using a wheelchair, pushing a baby stroller or dragging wheeled luggage.</p><p><strong>20. Stack the Closets <br /></strong>If a home has multiple levels, locating the closets in the same location on each floor creates space for a future elevator shaft. It might sound extravagant, but more and more houses are including this feature and the cost is minimized when the space is already available. Also, installing an elevator is often an affordable option compared to the cost of selling a home and relocating. If an elevator isn’t needed, the house has two very useful closets.</p><p><strong>21. One-Level Living <br /></strong>In an ideal world, all multistory homes would contain a full bath on the first or entry floor as well as a bedroom or room that could be converted into a bedroom. When building a new residence or renovating one, the existence of these two rooms are key to a home being aging friendly. Look at your home and the spaces in it. A den may become a first floor bedroom, permanently or during a convalescence. A playroom might evolve into an exercise room. You probably won’t anticipate all the future uses of your home, but the benefits of these improvements will be useful today and for many years.</p>
Enter your text here…